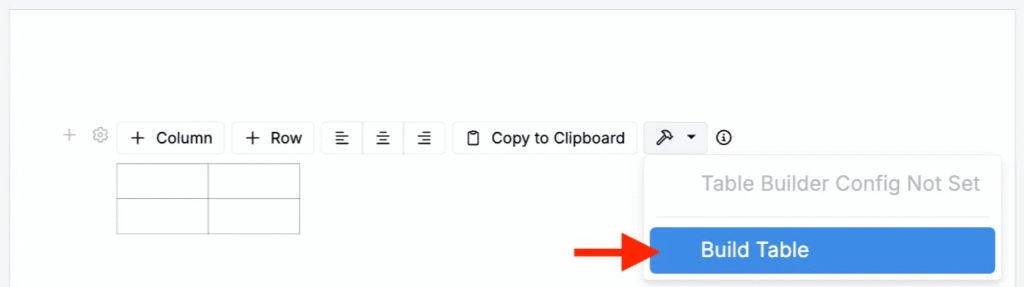
The Table Builder tool lets you assemble customized tables inside a Notebook, combining recipes, conditions, outputs, specs, and annotations in a single reusable layout.
Within Table Builder, one of the available row types is the Value Spec Row. This row type lets you run a Value Spec and display its results directly in your table.

By default, Value Spec Rows populate values as additional rows. This article explains that default behavior and shows how to configure Value Spec Rows so they instead populate values across recipe columns using a wrapped-array pattern.
Populating New Rows (Default)
When you configure a Value Spec row, the Table Builder evaluates the Value Spec once in the notebook context and then inserts the result into the table.
Because the context is the notebook (not an individual recipe):
- You cannot refer directly to
ref:recipe.*fields. - You can use notebook-level variables such as
ref:vars.recipe_ids.
Example Config
If your Value Spec returns an array, the Table Builder interprets each element of that array as a separate row in the table.
For example, you can configure a Value Spec Row with:
(map_array ref:vars.recipe_ids
  ref:args.value)
This expression:
- Uses
ref:vars.recipe_idsto get the list of recipe IDs in the table. - Uses
map_arrayto loop over each recipe ID. - Returns each recipe ID as the value for that array element.
The Value Spec returns an array like:
[recipeId1 recipeId2 recipeId3]The Table Builder then renders one row per element:
| Value Spec Row | ||
|---|---|---|
| recipeId1 | ||
| recipeId2 | ||
| recipeId3 |
This is the expected, default behavior.
Populating Columns
You can also configure the row to return a single row of values, one for each recipe column. To do this, you need to return one array inside another array.
To generate one row with per-recipe values, the Value Spec must return:
[[valueA valueB valueC]](an array containing one element, and that element is the array of values)
The outer array tells the builder, “This is one row.” The inner array tells the builder, “These are the column values for that row.”
Example Config
- Start with the recipe IDs selected in the table.
ref:vars.recipe_ids- Map over each recipe ID to return one value per recipe. In this simple example, we’ll just return the recipe ID itself:
(map_array ref:vars.recipe_ids
  ref:args.value)
On its own, this still produces multiple rows (one per recipe), as shown in the default behavior example.
For more advanced lookups, see our in-platform Value Spec documentation. In particular, you can use (with_entity “recipe” ref:args.value ref:recipe.*) in place of ref:args.value to pull other fields directly from the recipe.
- Wrap the entire expression in (array …) to create a single row.
(array
  (map_array ref:vars.recipe_ids
    ref:args.value))
Now the Value Spec returns:
[[recipeId1 recipeId2 recipeId3]]The Table Builder treats this as one row, and fills the recipe columns with the inner array values.
- (Optional) Add a header label. Value Spec Rows do not automatically generate header text. If you want the first cell in the row to contain a label, add one manually as the first item in the inner array:
(array
  (array_conconcatenate
    (array "Recipe ID")
    (array ref:vars.recipe_ids
      ref:args.value)))
This returns:
| Recipe ID | recipeId1 | recipeId2 | recipeId2 |
|---|
… and produces a single row where the first cell reads “Recipe ID”, followed by one value per recipe column.
Key takeaways
- When creating tables in Notebooks using the Table Builder tool, users have the option to add Value Spec rows.
- Value Spec Row behavior depends entirely on the structure of the returned array:
- Array of values → multiple table rows
- Array containing a single array → one table row populated across columns