Notebooks in Uncountable are flexible, collaborative documents that allow teams to organize, analyze, and share project data. They serve as a workspace for combining experiment results, visualizations, notes, and embedded files—all within the context of a project or material family.
Use Notebooks to:
- Summarize experiment findings
- Create shareable dashboards
- Build reports and meeting summaries
- Store and visualize data alongside comments and approvals
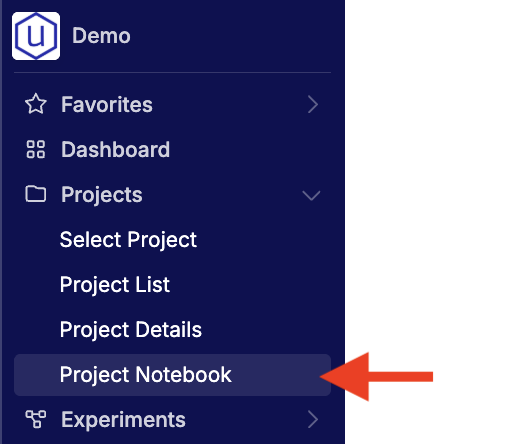
Accessing the Project Notebook
Every project created in Uncountable includes a dedicated notebook. When you have an active project selected, you can access its designated Project Notebook directly from the project’s menu in the navigation bar.
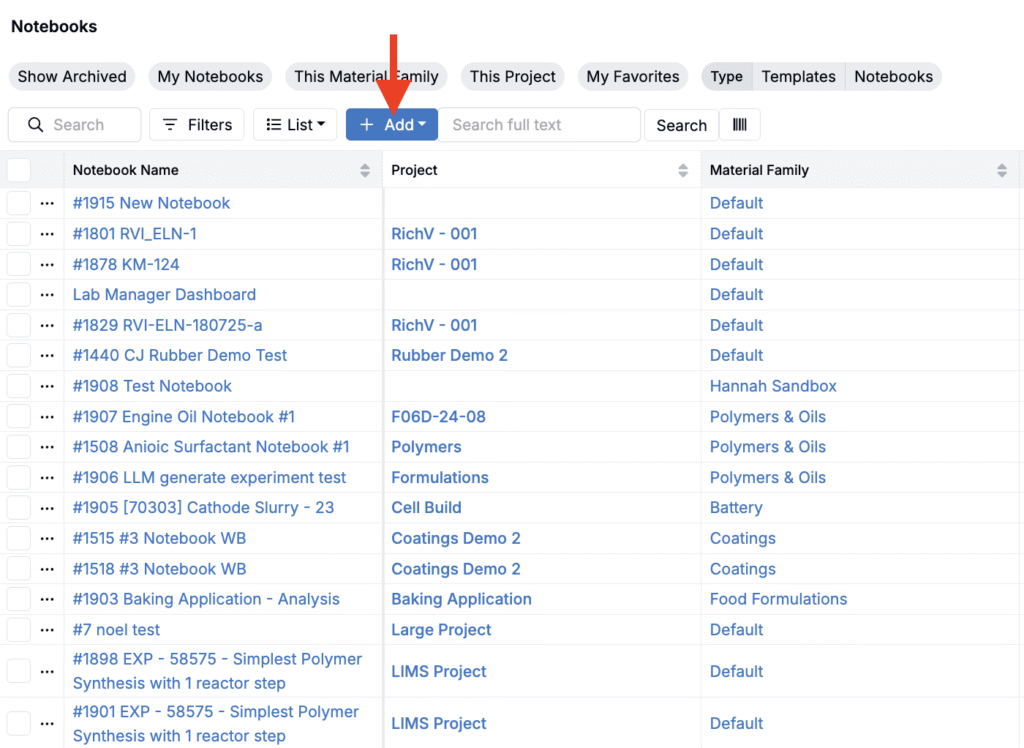
Creating a New Notebook
You can also access the Notebooks listing page (Quick Actions > “Notebooks”). Here, you can browse and search across all notebooks created in your workspace or create a new notebook that isn’t scoped to a project by clicking Add.
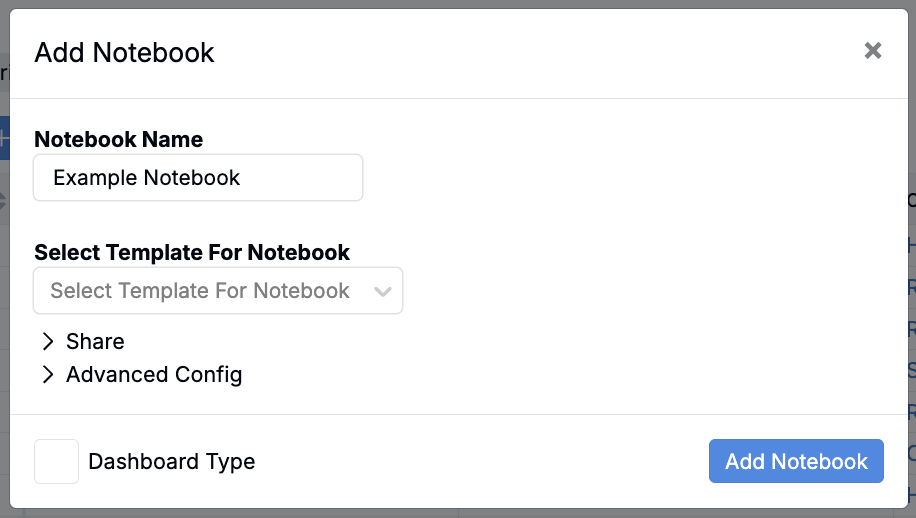
In the modal, fill out the following information:
- Name – Enter a descriptive title for your notebook.
- Template – (Optional) Select a saved notebook template to pre-populate layout, content blocks, or visualizations. Learn more.
- Dashboard Notebook – Enable this option to create an interactive dashboard-style notebook with filters and dynamic plots. Learn more.
Once you’ve completed these fields, click Add Notebook to open and begin editing.
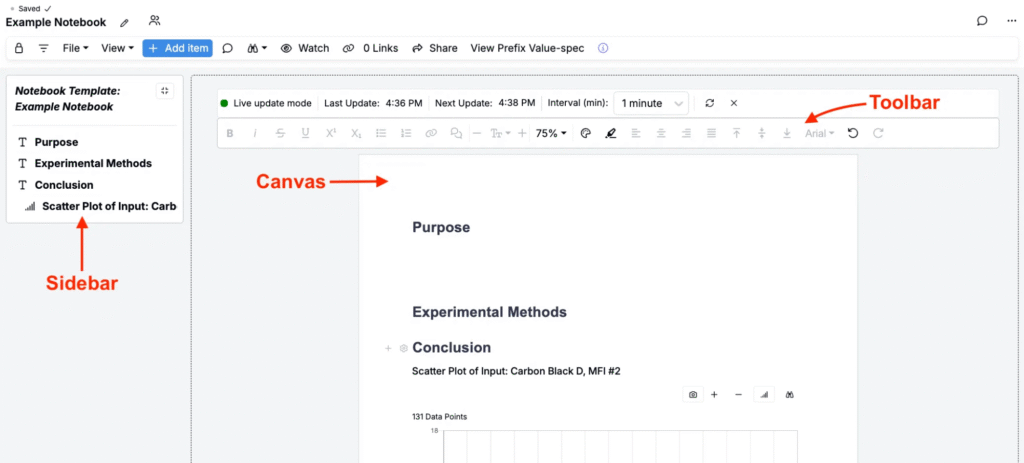
Anatomy of a Notebook
Each Notebook has three key sections:
- Sidebar: Displays Notebook pages and navigation.
- Canvas: The main area for text, tables, plots, and embedded content.
- Toolbar: Options for adding content, commenting, sharing, locking, and managing permissions.
Adding Notebook Content
Adding Items
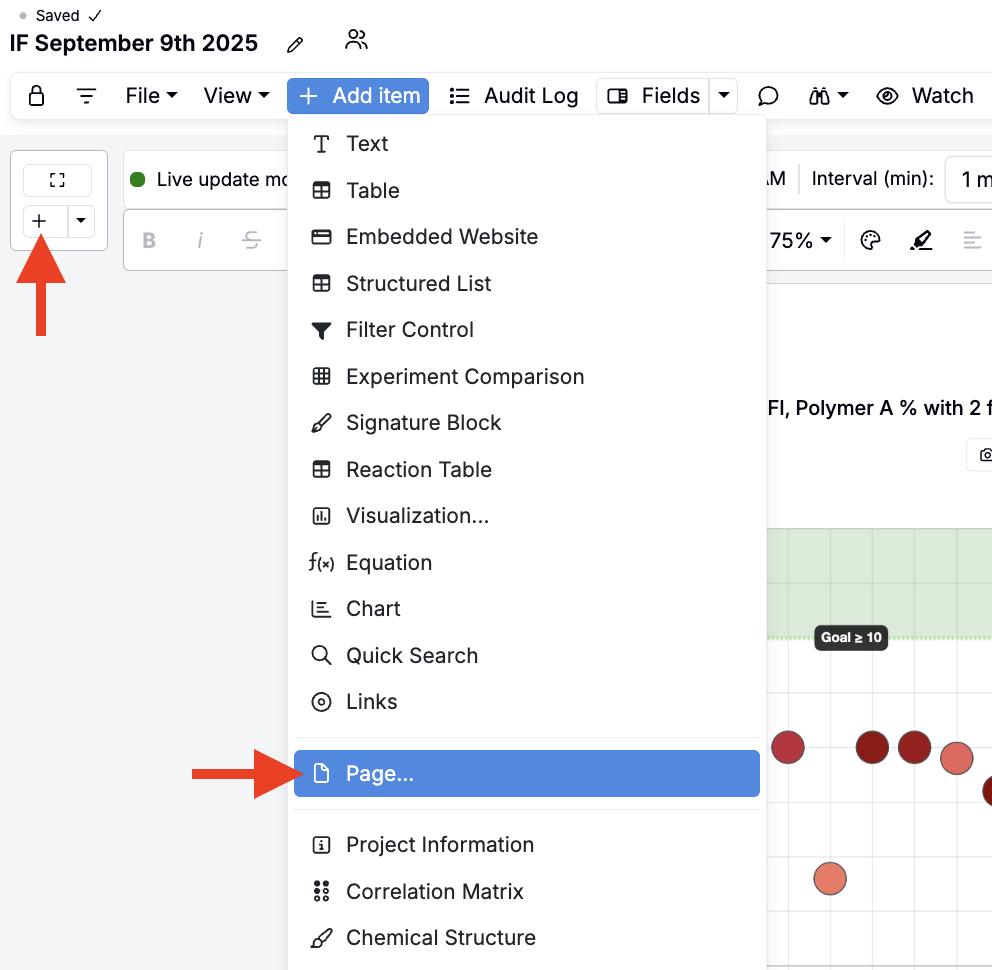
Begin by adding items, the building blocks of your Notebook page. Items include text, tables, plots, listings, experiment comparisons, Microsoft Office 365 files, and more.
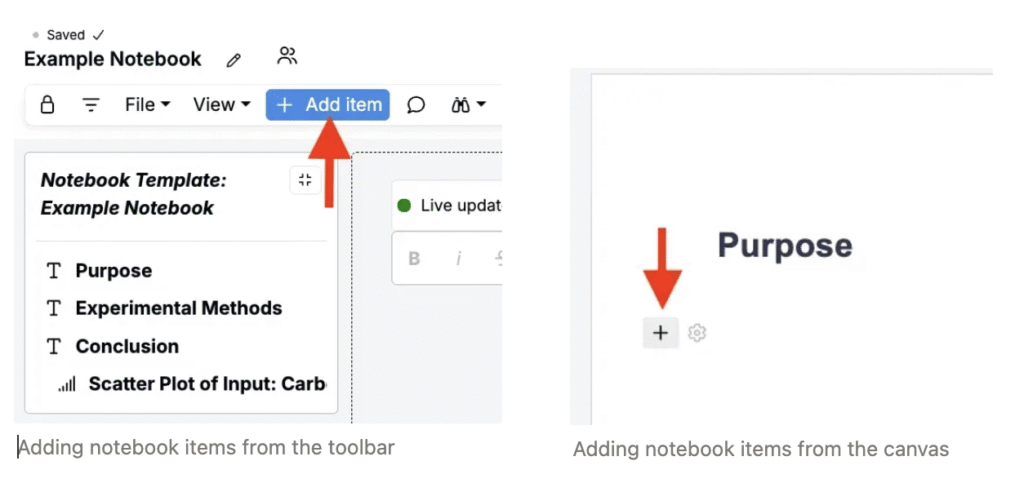
To add an item:
- Click Add Item in the left sidebar or the gray + icon directly on the canvas.
- From the dropdown, select the content type you want to add.
Each inserted block is fully editable and can be moved, resized, or deleted as needed.
For a full list of supported item types, see Adding Items to a Notebook.
Adding Pages
Notebooks can contain multiple pages, allowing you to group related content (e.g. background information, methods, results, and visualizations).
To add a page:
- Click Add Item in the toolbar and select Page, or click the + icon in the sidebar.
- New pages appear in the sidebar and the tab bar at the bottom of the notebook.
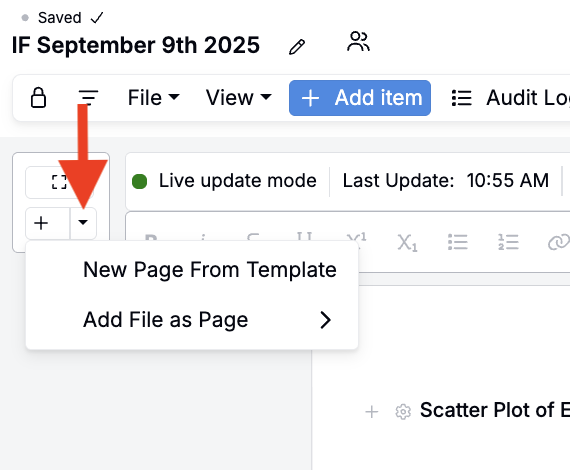
When adding new pages, you can also access the + icon menu to:
- Add or create Microsoft Office 365 files as standalone pages.
- Create new pages directly from a saved template to quickly apply a standard layout.
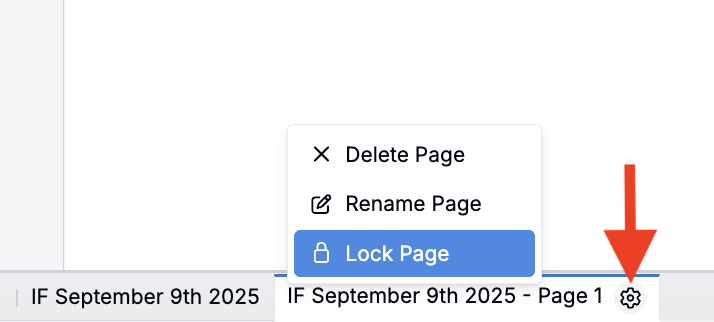
To lock, rename, or delete an individual page, click the ⚙️ in the page tab bar.
Collaboration Features
Comments
Highlight text or select a block to leave a comment. Use the @mention to tag teammates and notify them by email and within Uncountable.

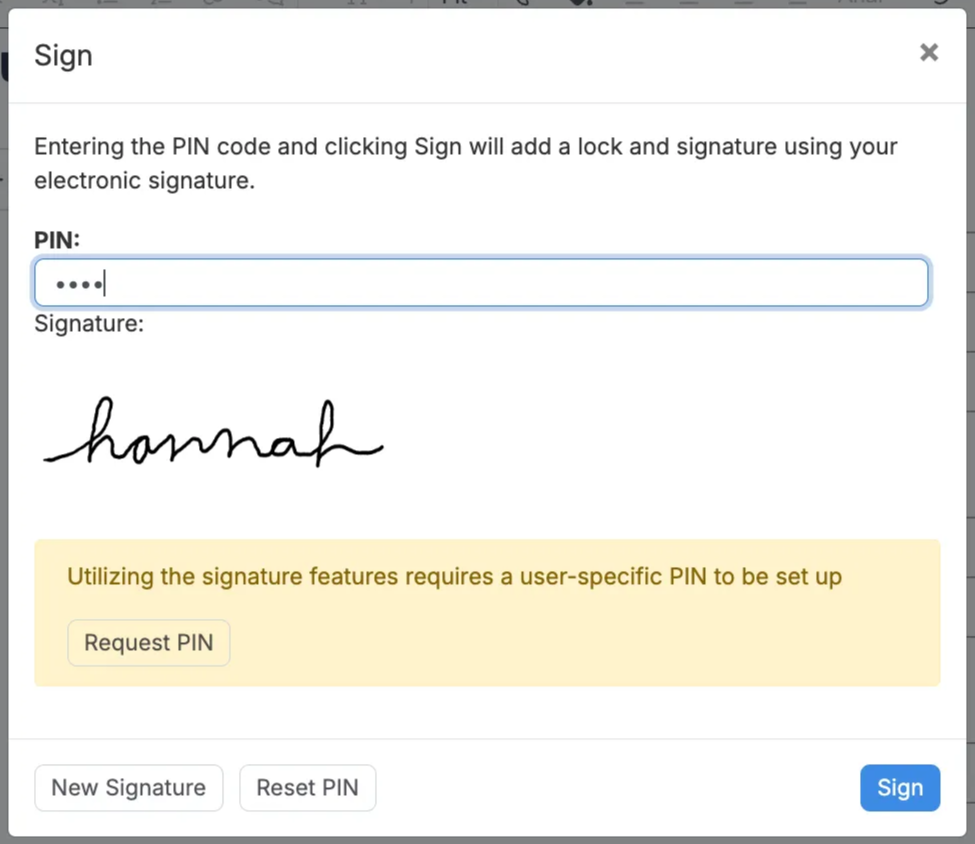
Signatures & Locking
Add a Signature Block to record electronic signatures with a PIN. When finalized, select Sign to add a lock and signature. Locked notebooks are read-only until unlocked by an editor.
Sharing & Permissions
By default, Notebooks inherit project permissions. To override and manually configure permissions to view and edit the notebook:
- Click Share in the notebook toolbar.
- In the modal, toggle off Allow any user with permissions to read the current project to modify this notebook.
- Select users or user groups to add a permissions set for.
- Select the users level of access (Viewer or Editor) and click Add.
- Add additional permission sets, if desired.
- Click Share.
Moving Notebooks
Notebooks can be moved across material families and projects. To do so:
- Select File > Move Projects.
- Choose a new Material Family and (optionally) a Project.
- Click Move.
Once moved, all project-specific notebook cells (e.g. visualizations, listings) will update to reflect the data from the new material family and project.
Best Practices
- Use templates for recurring report or dashboard formats.
- Keep related experiments, plots, and summaries on separate Notebook pages for clarity.
- Use comments and signature blocks for reviews and approvals.
- Lock final versions for governance and traceability.