After creating a recipe, users can then export the recipe details to a configurable recipe export called a runsheet.
Runsheets are highly customizable, allowing you to include different types of recipe data and settings. These setups are referred to as to as runsheet configurations, which can be reused to create new runsheets.
This article will guide you through the process of creating runsheets by:
- Creating or editing an existing runsheet configuration.
- Creating a new Recipe Export definition using the runsheet configuration.
- Customize additional runsheet settings, such as adding Actual Values columns or ingredient attributes.
Runsheet Configurations
Creating a New Runsheet Configuration
To create a new runsheet configuration:
- Open the Default Runsheet Configuration page (Quick Actions > “Edit Runsheet Configuration”).
- Click Create New Configuration.
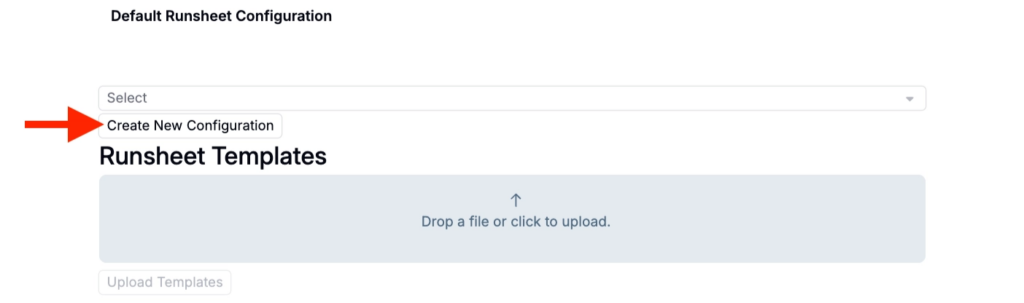
Add a Configuration Name (e.g. Synthesis Recipe Export).

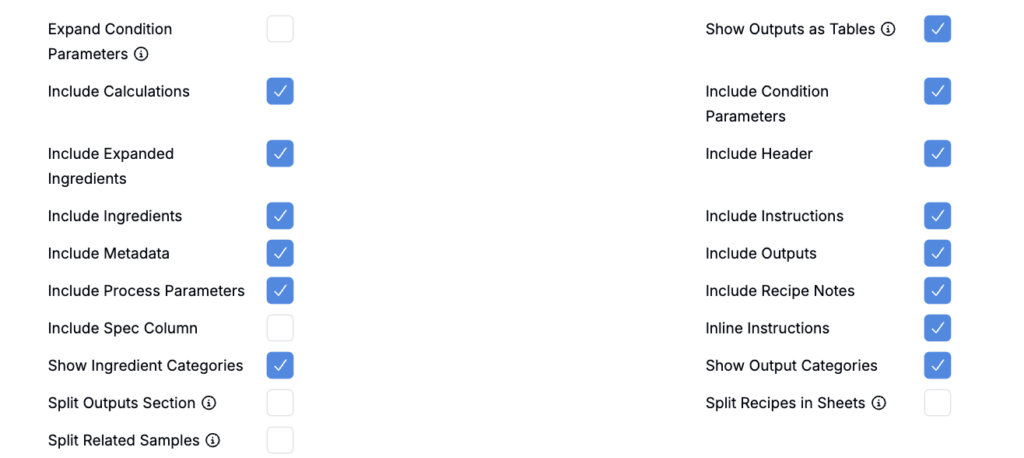
Use the checkboxes to choose configure runsheet settings. To learn more, refer to Runsheet Settings.
Editing an Existing Runsheet Configuration
To edit an existing runsheet configuration, select it from the dropdown menu.

Use the checkboxes to choose update runsheet settings and click Submit to save changes.
Using a Runsheet Template
Most runsheet configurations do not require an uploaded template. The Runsheet Templates option is primarily for template-based runsheets, where the exported Excel file should start from a specific customer-formatted workbook (logos, pre-built tables, print layout, etc.).
If you use a template:
- Upload an .xlsx file that matches the expected structure for that runsheet.
- To update/replace an existing template later, you typically need to upload a new file with the exact same filename.
- If the exported output does not change as expected after uploading, the runsheet may not be configured to use the template (or the template may not match the required structure).

Creating a New Recipe Export Definition
Once you have a runsheet configuration ready, you can then create a new Recipe Export definition with the runsheet configuration.
- Access the Form Admin page page.
- Within the Definitions tab, click Create Definition.
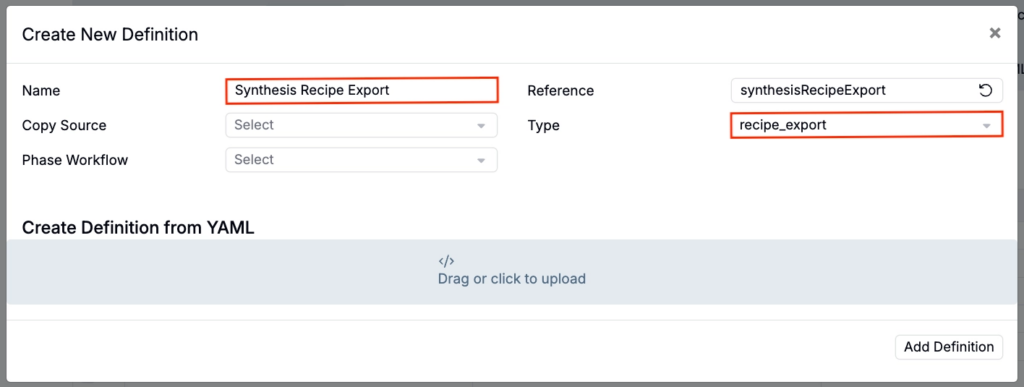
- In the modal:
- Name: Add a runsheet definition name.
- Reference: Reference name be autogenerated, use the field to edit it if desired.
- Type: Select recipe_export
Within the Runsheets and Labels tab of the new definition, click Add New Runsheet.

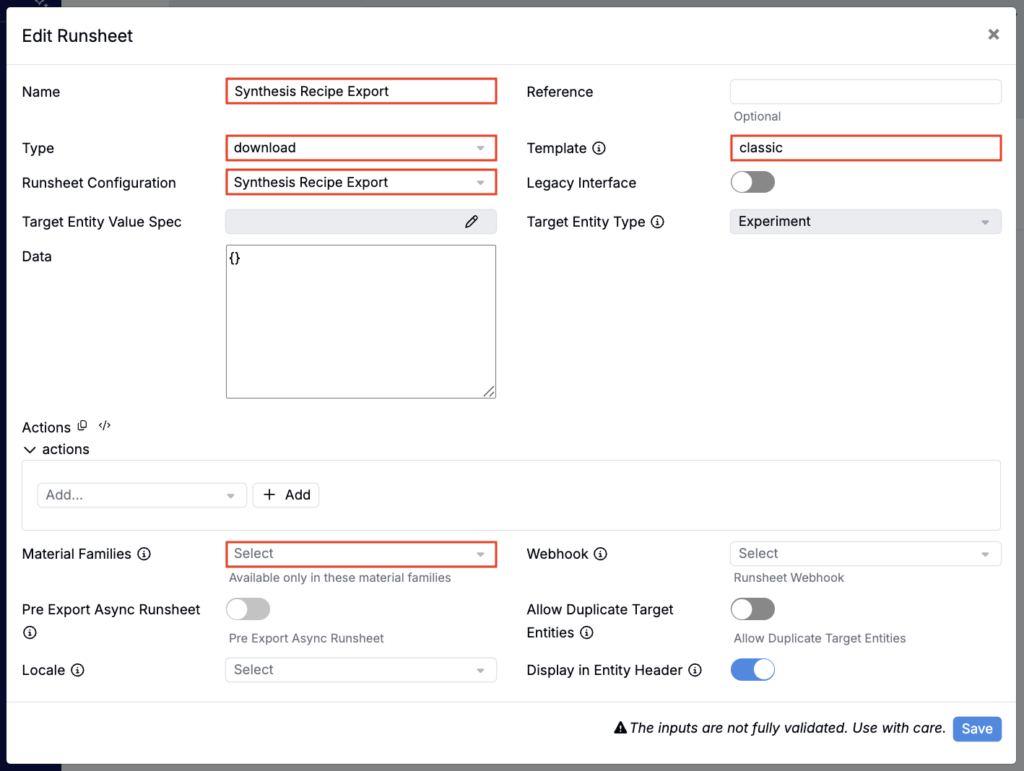
In the modal, use the following settings:
- Name: Add a runsheet name.
- Type: Select download.
- Template: Select classic (previously was referred to as “24”).
- Runsheet Configuration: Choose the appropriate runsheet configuration.
- Material Families: Select the material families within which the runsheet should be available.
Adding an Actual Values Column
Actual Values columns add a place to record what was actually used or measured alongside the recipe’s planned values. This is helpful for documenting deviations during execution.
To add an Actual Values column to a recipe export:
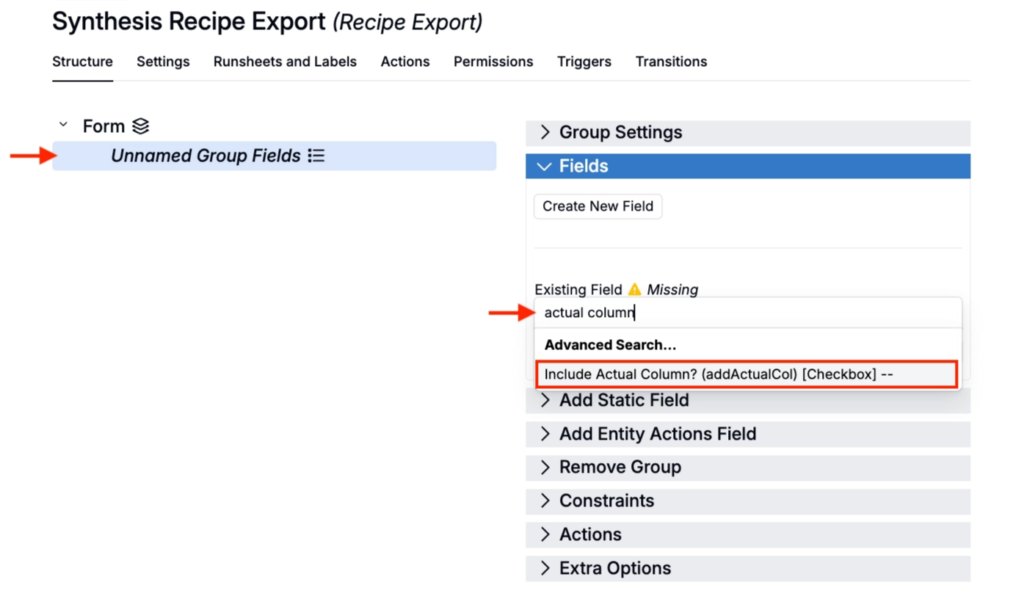
- Click into the Structure tab of your Recipe Export definition.
- Add or select an existing Form group.
- Within the Fields tab, add the Include Actual Column? field.
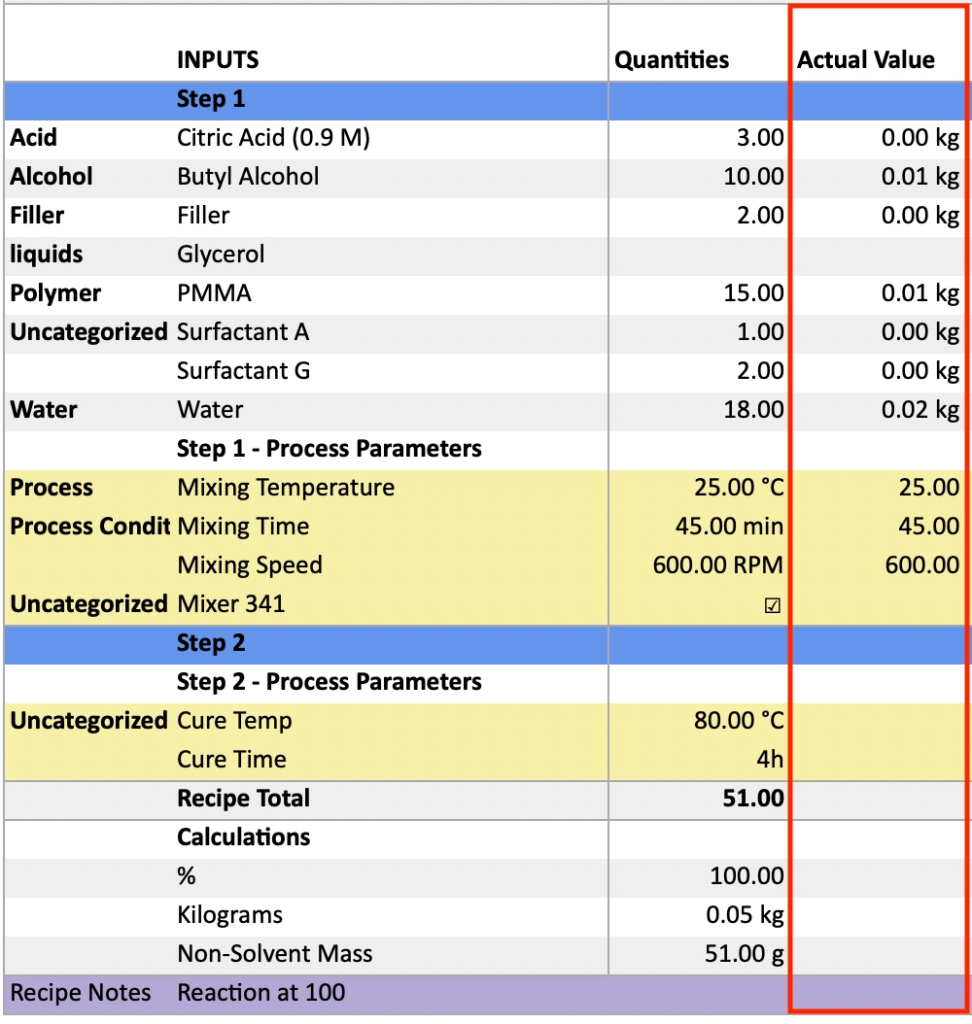
Once added, users can select the Includes Actual Column? checkbox before exporting.
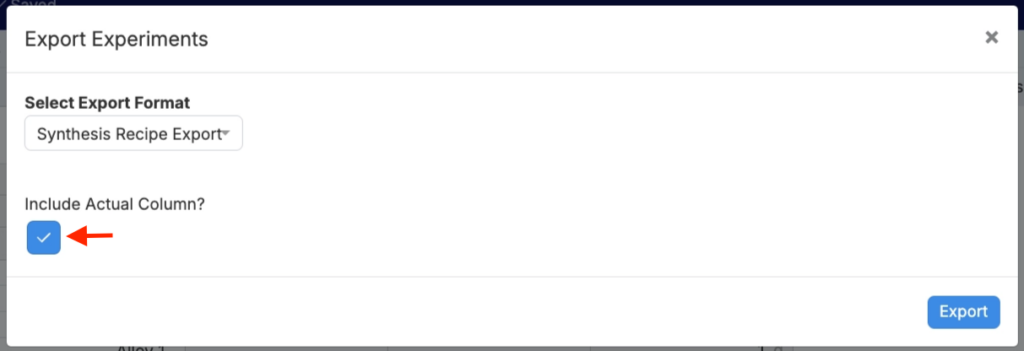
This will generate an exported runsheet with an Actual Value column.
Adding Ingredient Attributes Columns
To add an ingredient attributes columns on a recipe export:
- Click into the Structure tab of your Recipe Export definition.
- Add or select an existing Form group.
- Within the Fields tab, add the Ingredient Attributes field.
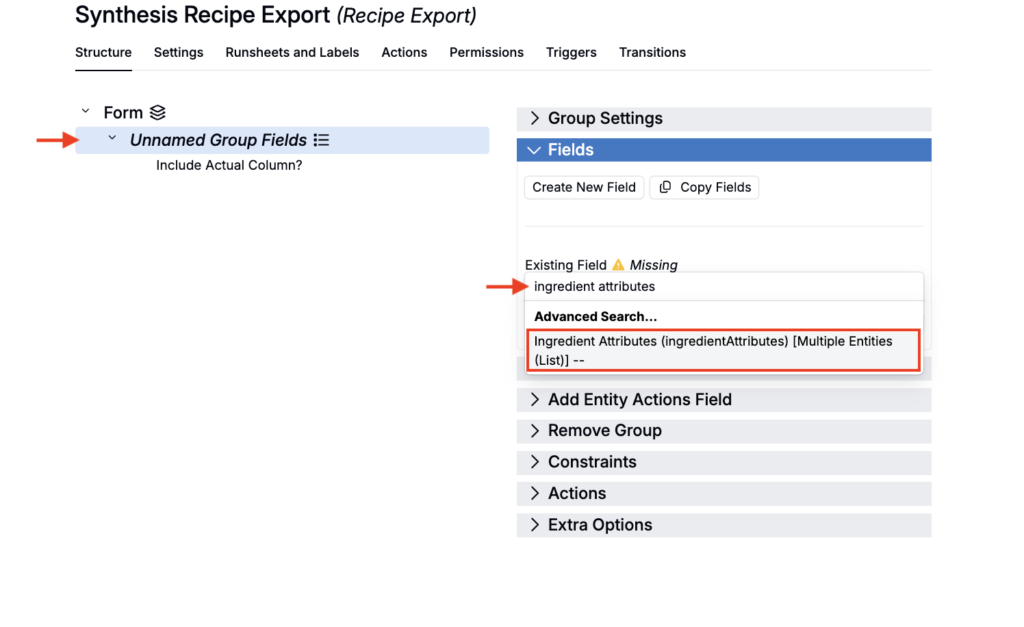
Once added, when exporting to that runsheet, users can select multiple ingredient attributes to include in the export.
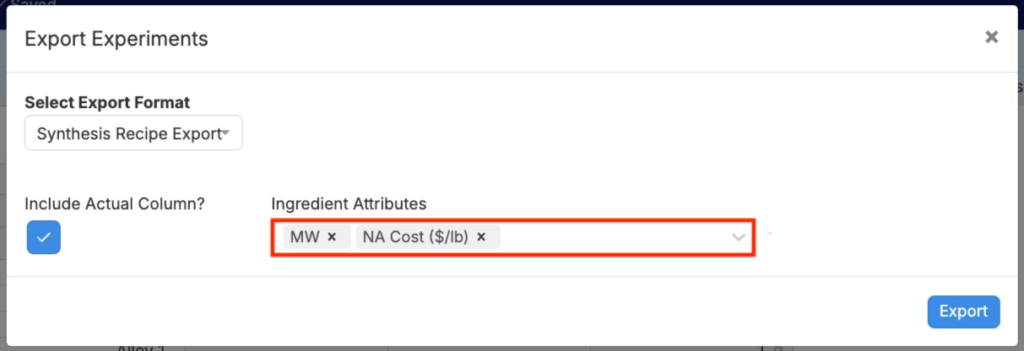
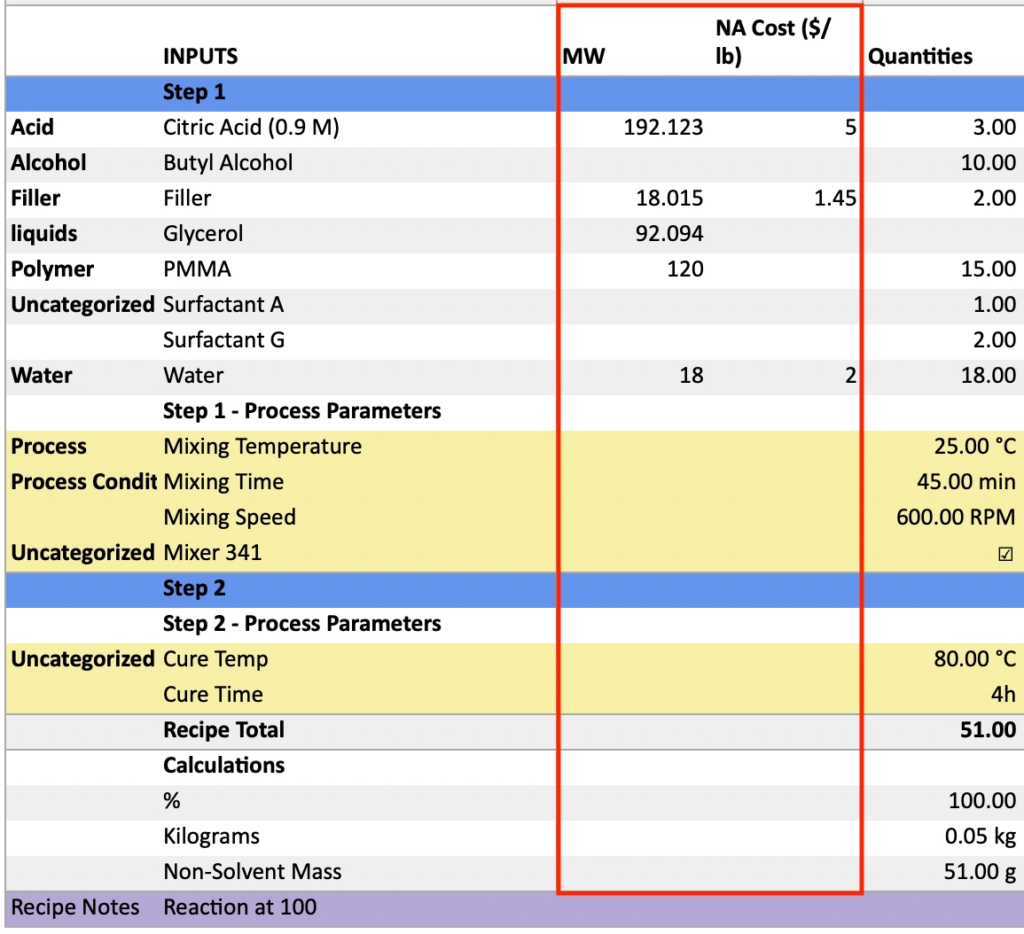
This will generate an exported runsheet with the selected attribute columns.
Adding Column Calculations
To add column calculations on a recipe export:
- Click into the Structure tab of your Recipe Export definition.
- Add or select an existing Form group.
- Within the Fields tab, add the Column Calculations field.
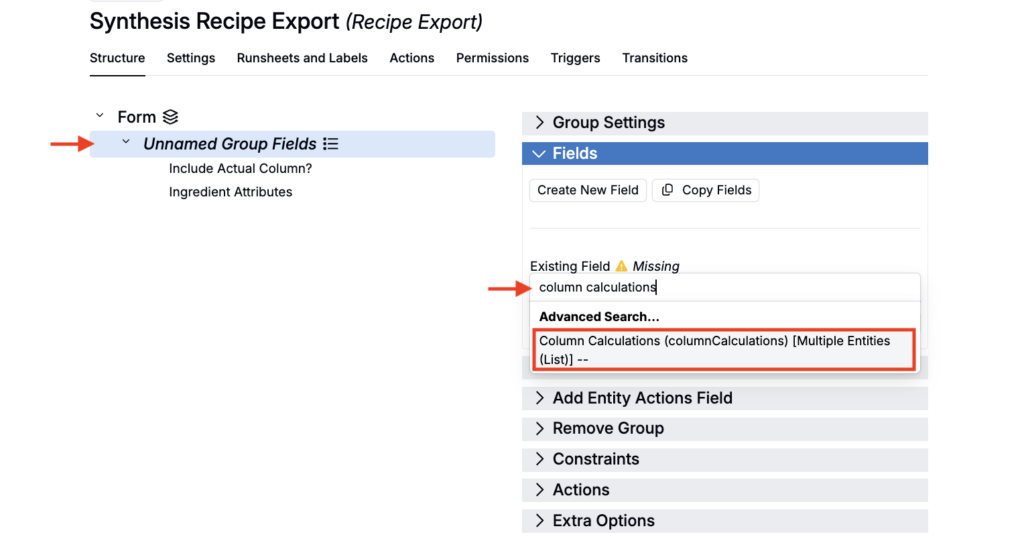
Once added, users will see a Column Calculations selector in the export modal and can choose which column calculations to include.
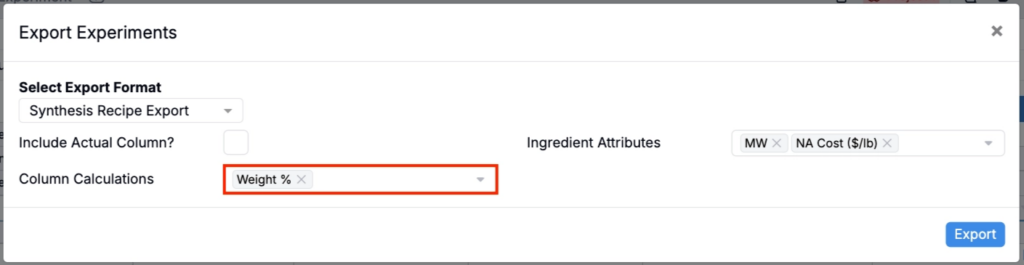
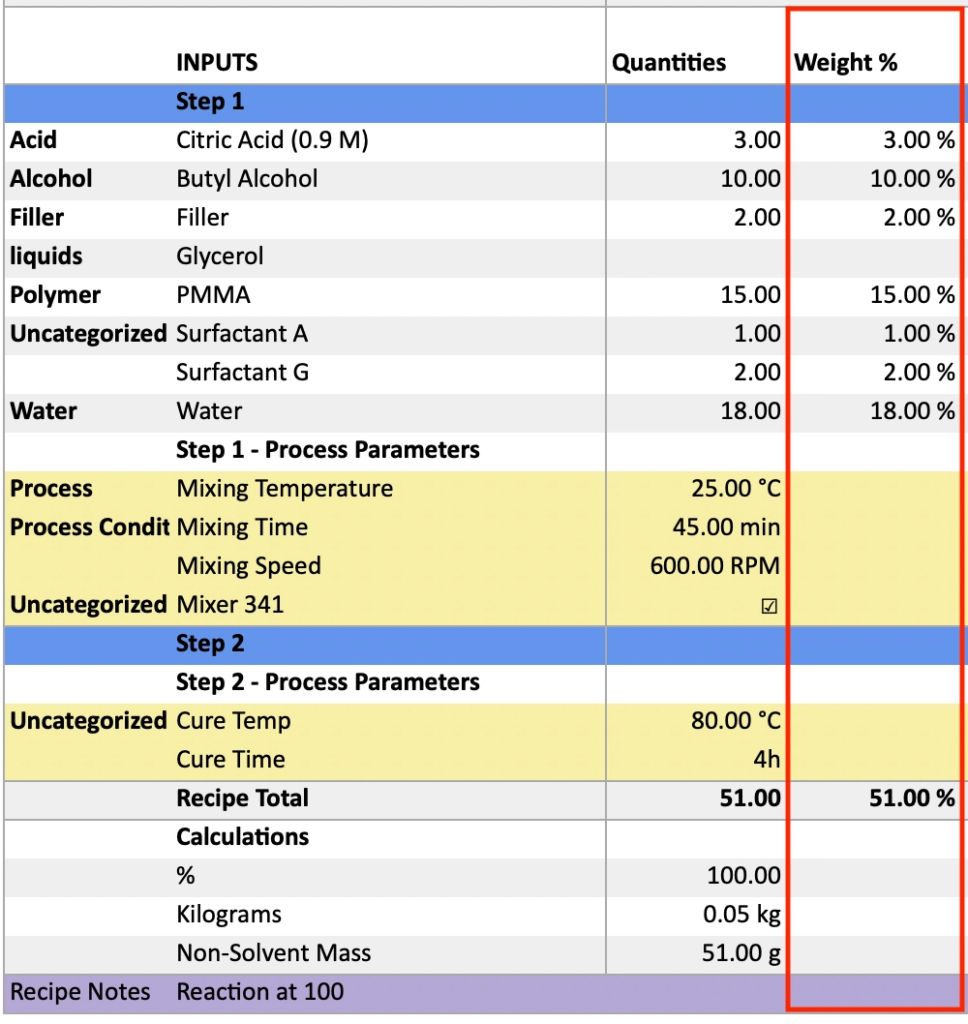
This will generate an exported runsheet with the selected column calculations.
If the Column Calculations field does not appear in the dropdown, it has not been created yet within your schema. To learn how to create it, refer to Creating a Column Calculations Field.
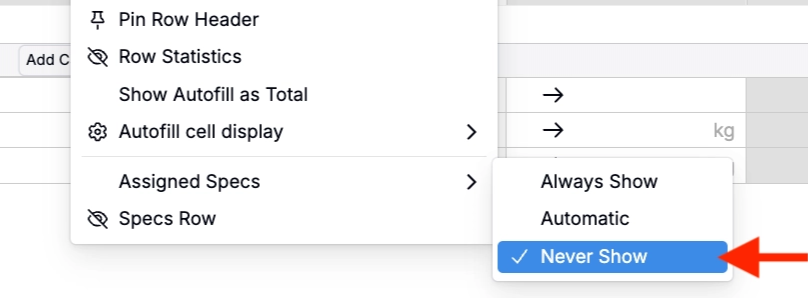
Showing/Hiding the Assigned Spec column
Whether the Assigned Spec column appears on your runsheet depends on your Assigned Spec settings (View > Assigned Specs).
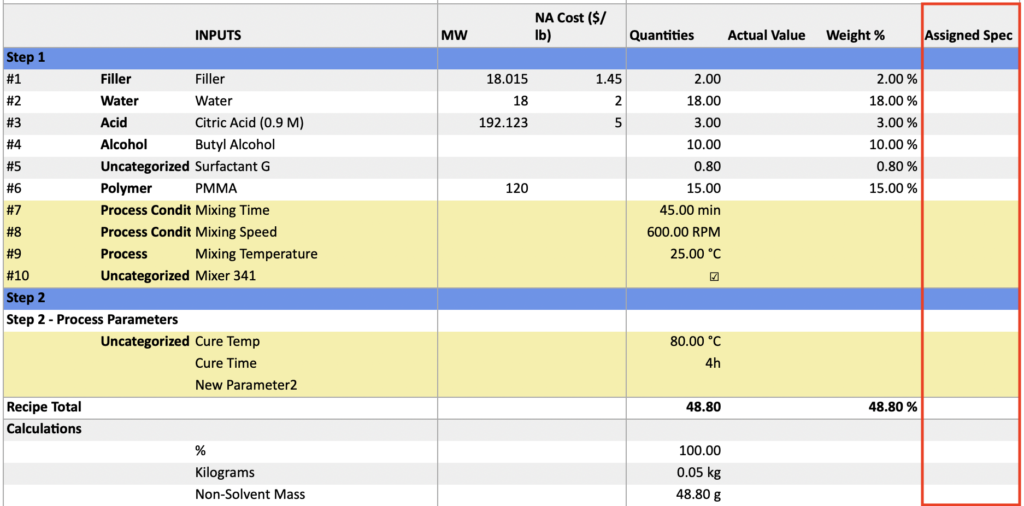
- Always Show: The Assigned Spec will appear in your export, even if it is blank.
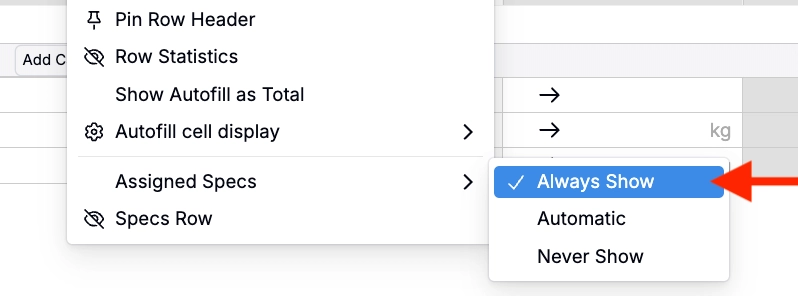
- Never Show: The Assigned Spec column will not appear on your exported runsheet.
Allowing users to name the exported runsheet file
If you want users to name the exported file at download time:
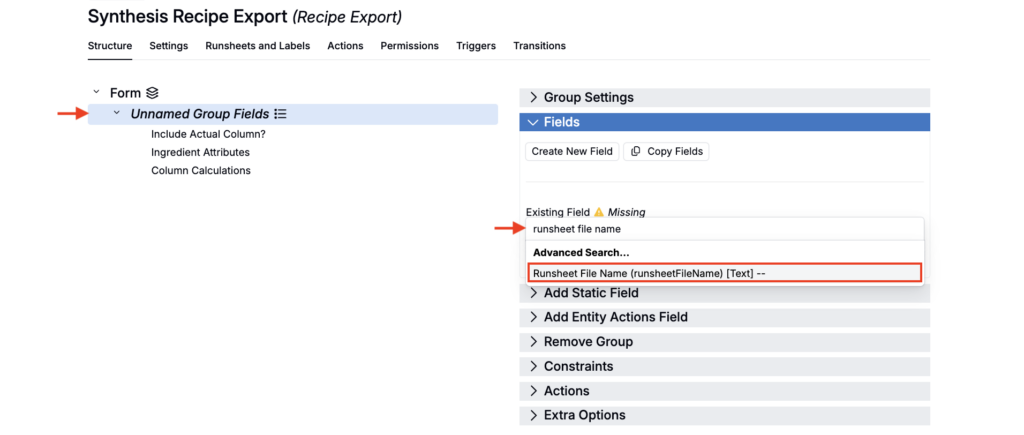
- Click into the Structure tab of your Recipe Export definition.
- Add or select an existing Form group.
- Within the Fields tab, add the Runsheet File Name field.
Once added, users will see a Runsheet File Name field in the export modal and can manually enter a file name.
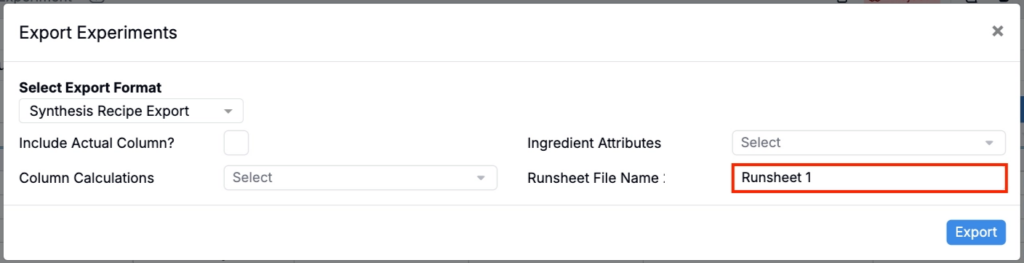
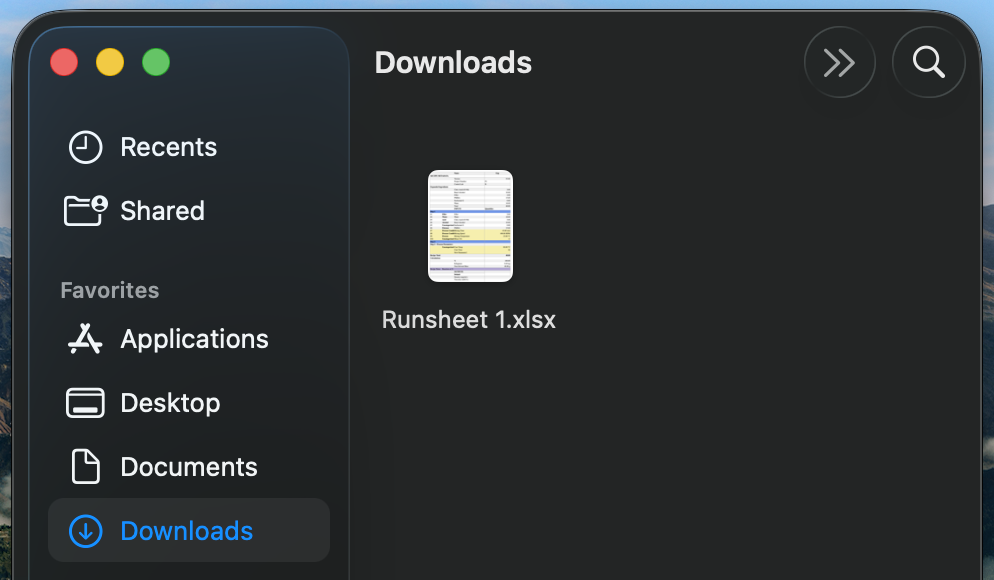
When you export, the runsheet will use the name entered in the Runsheet File Name field.
If the Runsheet File Name field does not appear in the dropdown, it has not been created yet within your schema. To learn how to create it, refer to Creating a Runsheet File Name Field.
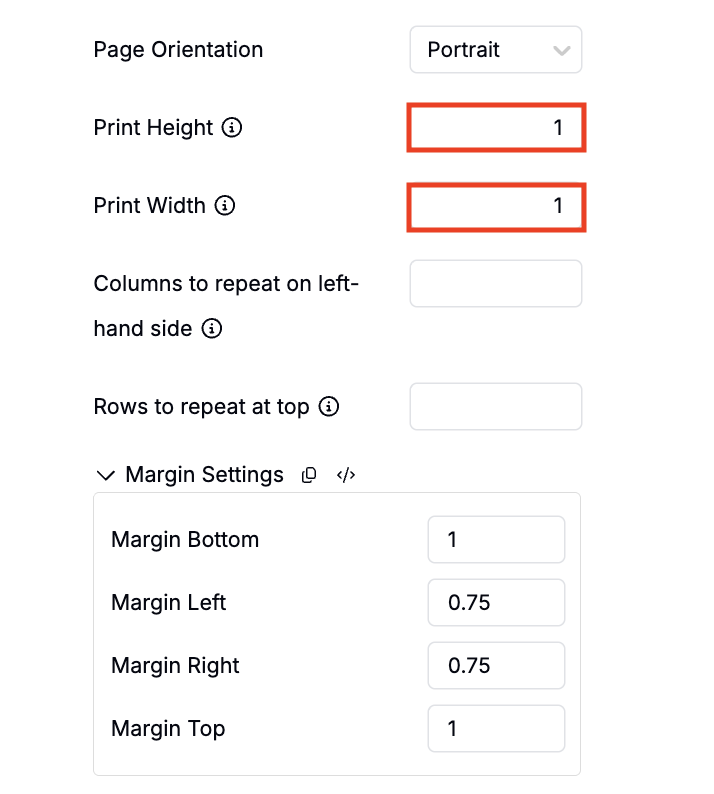
Fitting a Runsheet to a single page
If you need a runsheet to print on a single page:
- Open Edit Runsheet Configuration.
- Under Advanced Settings, set Print Height = 1 and Print Width = 1.
- Use the Page Orientation field to set page orientation (Portrait or Landscape).
This forces the export to auto-fit to one page when printing.