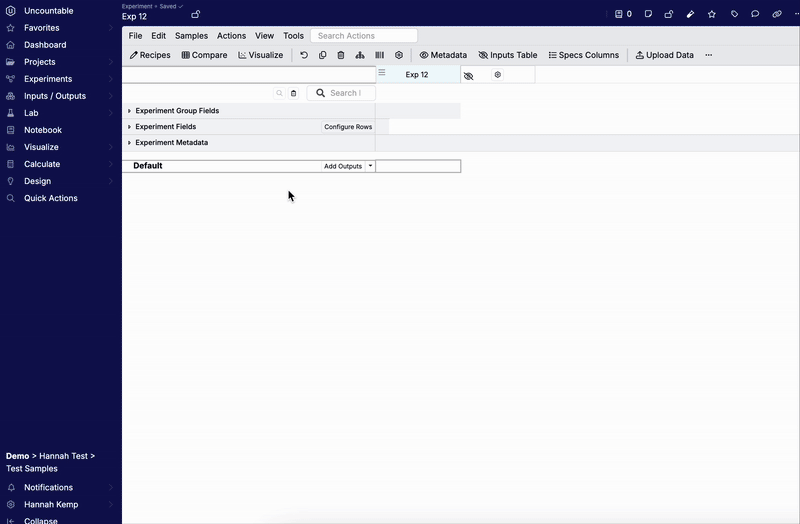
Before entering measurement data, you’ll need to define which properties you’re measuring by adding outputs to your experiment’s measurement table. You can add outputs individually, apply an output group, or create a new output as needed.
Adding Outputs
To add individual outputs:
- Open the Measurements view for your experiment.
- Click Add Outputs.
- Use the dropdown menu to search for and select an individual output to add.
- In the Outputs to be Added sidepanel, optionally specify output conditions.
- Click Add Measurement to add the outputs to your measurement table.
Each selected output will appear as a new row in the table, where you can begin entering measurement data.

You can also click the blue More button to open the Add Outputs modal. In this modal:
- Use the output table to search, sort, or filter available outputs.
- Click + Add to move outputs to the Outputs to Add panel on the right.
- Assign default conditions to each output (optional).
- Click Add Measurements to add all selected outputs to the experiment.
Adding Output Groups
If you regularly record the same set of measurements with consistent conditions, you can streamline setup by using output groups. To add an output group:
- Open the Add Outputs dropdown and select a group directly.
- Alternatively, click the blue More button to open the Add Outputs modal.
- In the modal, access the Groups tab.
- Select one or more output groups to add.
All outputs and conditions in the selected groups will be added to your experiment at once.

Adding/Creating a New Output
If the output you need isn’t available in the system, you may be able to create a new one:
- Click More to open the Add Measurements modal.
- Click Add New to define a new output property.
- Fill in the required configuration details.
- Once created, the new output will be automatically added to the experiment.
Note: Some users may not have permission to create new outputs depending on workspace settings.
Learn more about creating outputs: